Manage Data Easily in React with the useLocalStorage Hook
Simplify data storage in your React apps with the useLocalStorage custom hook. Learn how to implement it for better state management.

After I started creating my design system mountain-ui, I thought what I’ve learned so far in my career and what I’ve been applying in its implementation could be of good use for other developers who’d like to learn better how to exploit the React API at its full potential.
So, I’m starting a new series of posts where we will see together how I created some custom hooks which I use day by day. Sometimes I adapted existing solutions, others I created them from scratch based on my needs.
The reasons for a useLocalStorage hook
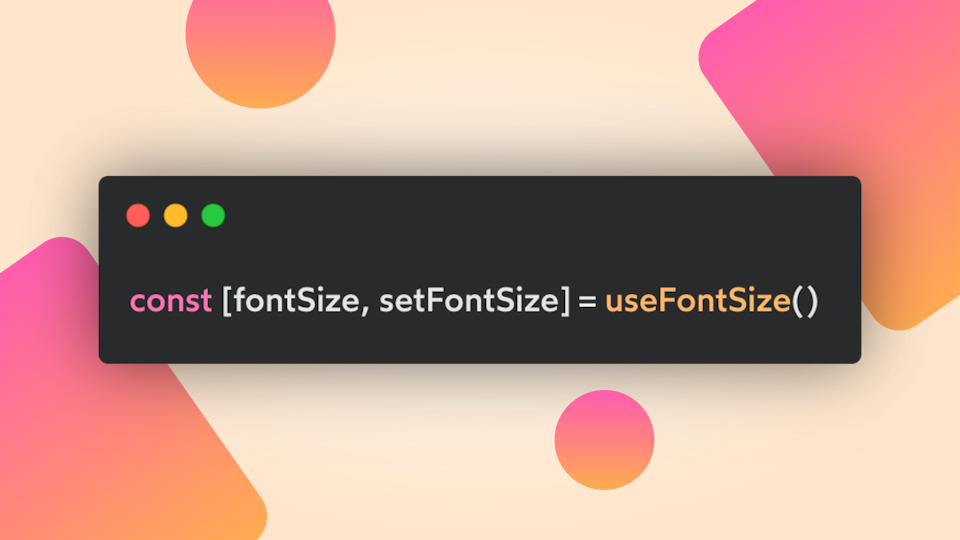
More than once, I’ve found myself with the need to persist a piece of information across user sessions, such as the selected font size for the page, or the dark mode preference for a user.
Having something simple to sync the localStorage with a React state was a must-have for me.
When Hooks came in with React 16.8, many developers started getting their hands dirty with them, creating custom hooks able to interact with the browser’s API and create a better developer experience.
That’s when I found out about the first implementation of this hook, that through time has been iterated consistently to always provide better support for the developer's needs.
In mountain-ui, the library I’m building for personal development and my personal site, I created a package where I’ll define all the hooks that we’ll see in this series, feel free to use it and contribute if you’d like to.
How does it work behind the scene?
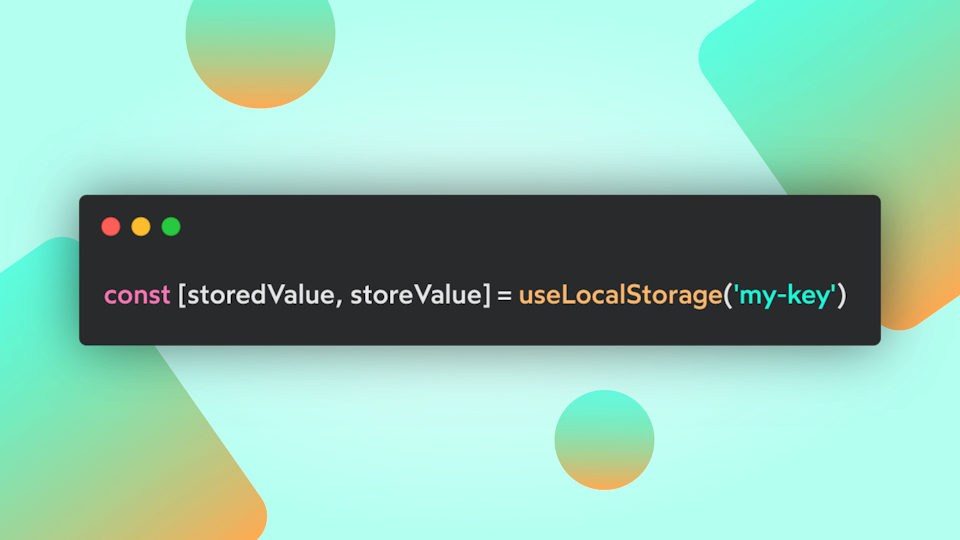
This custom hook gives developers the fundamental features to interact with the localStorage:
- Store a key/value pair in the localStorage of the client device.
- Sync the stored value with a React state to rerender the component when a new value is set.
- It also takes care of SSR, avoiding errors when the hook is invoked at build time or server-side.
Coding time
Let’s now check together this hook implementation and we’ll see step by step what’s going on when we invoke the hook inside a component!
Ok, this is quite a long piece of code. But let’s start from the beginning to understand what it does:
- First of all, it imports a utility for the implementation, the function
hasWindowthat you can find in the mountain-ui repository. - After the initial imports, we start declaring the hook function. It expects two arguments, the first is mandatory and is the key used to store a value in the localStorage. The second is optional and is an initialValue to save associated with the key argument.
- The first step of the implementation is to define a function
loadStoredValuethat allows retrieving from the localStorage the value saved with the key argument. It also controls whether the hook is called in the server using thehasWindowfunction, preventing errors while accessing the window object in the following lines. - Once we have defined the
loadStoredValueinit function, we create a new React state to hold the value stored. This state is essential to keep synced with the localStorage value and the UI so that the components using this hook can rerender once a new value is stored. - Now that a state has been created, the next step is to define an updater function able to store the new value in the localStorage and update the state previously created.
- Finally, before returning the result of the hook call as
[storedValue, setValue], we apply a side effect that should run only on the mount to restore the value from the localStorage and sync it with the React state.
Hook usage
As I pointed out before, there are tons of usages for this custom hook, it just depends on your needs. You may use this hook to create other custom implementations and extract more logic into reusable hooks!
Conclusion
We are at the end of this first React Hooks story, I hope it could be helpful and I’d like to hear from you for any doubt!
You can also find more about the resources I’m using on the following pages:
Thanks for taking the time to read it, see you with the next post! 🚀
Last updated:


